
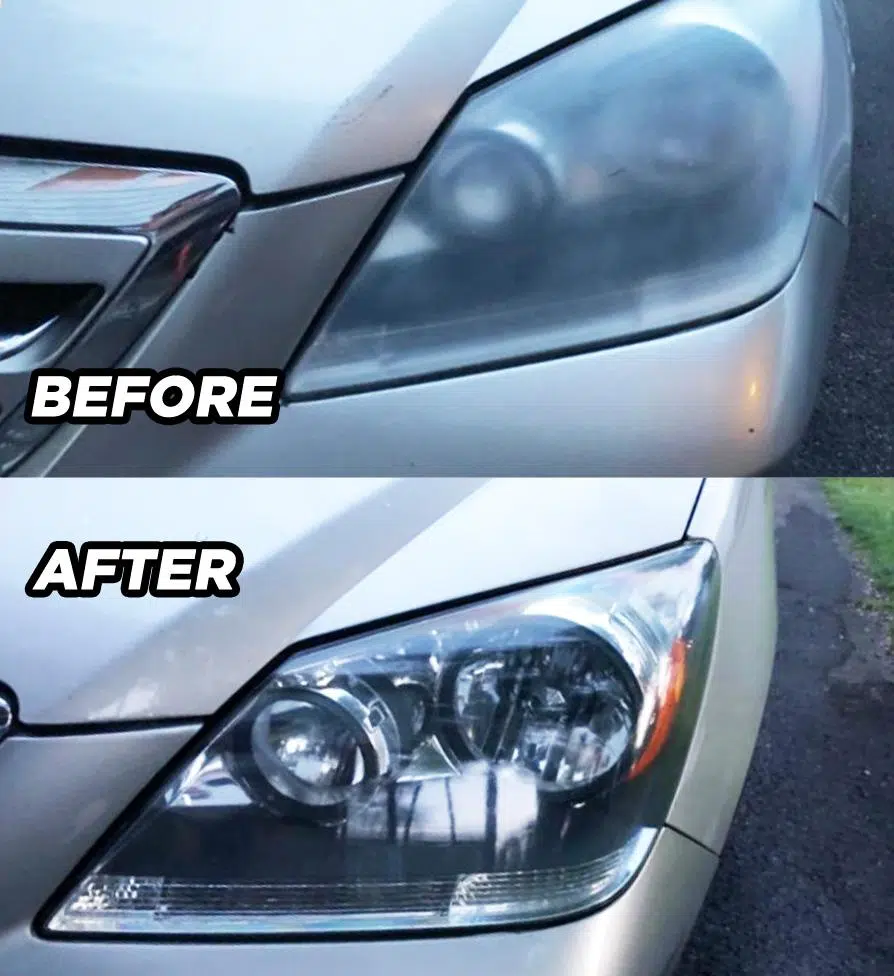
If your car’s headlights look cloudy, yellowed, or foggy, you’re not alone. Over time, exposure to sunlight, weather, and road debris wears down the clear plastic, reducing nighttime visibility and making your car look older than it is. The good news? You can restore your headlights to like-new condition with the right products and techniques — no expensive mechanic or detailing service required.
In this ultimate guide to headlight restoration, we’ll break down how to clean foggy headlights and highlight the best headlight restoration kits for long-lasting, crystal-clear results.
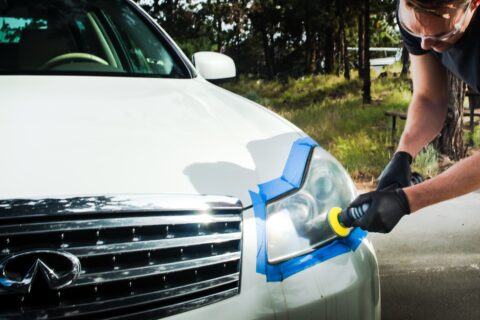
Image via https://glasweld.com
Why Do Headlights Get Cloudy?
Headlight lenses are made of polycarbonate plastic, which is durable but prone to UV degradation. This leads to oxidation, causing the lenses to appear foggy or yellow over time. Cloudy headlights not only look bad — they’re a serious safety hazard by reducing light output by up to 80%.
How to Restore Headlights: Step-by-Step
Materials You’ll Need:
- Headlight restoration kit (with sanding discs, compound, and UV sealant)
- Microfiber cloths
- Painter’s tape (to protect paintwork)
- Optional: drill with attachment pad for faster polishing
Step-by-Step Instructions:
- Clean the Headlights: Use soap and water to remove surface grime. Dry with a microfiber cloth.
- Tape Around the Headlights: Protect surrounding paint with painter’s tape.
- Sand the Surface: Start with coarse sandpaper (e.g., 800 grit) and work up to finer grits (e.g., 3000 grit), keeping the surface wet.
- Polish the Lenses: Apply the included polishing compound with a microfiber cloth or drill attachment until the headlight is clear.
- Apply UV Sealant: This step is crucial! A UV protectant helps prevent yellowing and oxidation from returning.
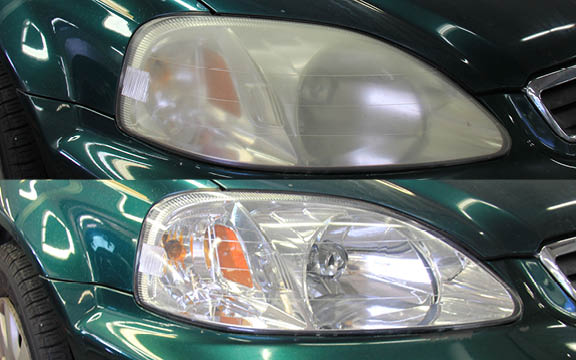
Image via https://www.zimbrick.com
Best Headlight Restoration Kits (2024)
Here are the top-rated headlight restoration kits that deliver professional results and long-lasting clarity:
1. 3M Headlight Restoration Kit with Drill Attachment
- Best for: Deep oxidation and long-lasting clarity
- Why it’s great: Includes multiple sanding discs and a polishing pad; works fast with a power drill
- UV protection? Yes — clear coat included
2. Cerakote Ceramic Headlight Restoration Kit
- Best for: Longest-lasting protection
- Why it’s great: Uses a ceramic coating for up to 2 years of UV protection
- UV protection? Yes — durable ceramic-based sealant
3. Sylvania Headlight Restoration Kit
- Best for: Easy application and consistent results
- Why it’s great: Trusted brand with multi-step sanding and a high-quality clear coat
- UV protection? Yes — includes proprietary UV block coating
4. Meguiar’s Heavy Duty Headlight Restoration Kit
- Best for: DIYers and beginners
- Why it’s great: All-in-one kit with sanding pads, polishing compound, and a buffing pad
- UV protection? Yes — includes clear coat with UV inhibitors
Pro Tips for Long-Term Headlight Clarity
- Always apply UV sealant after polishing to prevent re-oxidation.
- Reapply protectant every 6–12 months, especially if parked outside.
- Avoid toothpaste and DIY hacks — they provide only short-term results and no UV protection.
- Park in the shade or use a car cover to reduce UV damage.
Final Thoughts
Restoring foggy headlights is one of the easiest and most cost-effective ways to improve your car’s appearance and safety. With the right products and a little elbow grease, you can get clear, bright headlights that last for years.
If you’re looking for the best headlight restoration kit with UV protection, we recommend the Cerakote Ceramic Kit for unbeatable long-term clarity and protection.
Popular Search Terms That Brought You Here:
- How to fix foggy headlights
- Best headlight restoration kit 2024
- Headlight cleaning products
- DIY headlight restoration at home
- Restore headlights permanently
- Clear yellow headlights fast